
Using the GitHub interface
Introduction to using GitHub
This tutorial is an illustrated step-by-step guide on using GitHub to present your code or data analysis.
Creating an account
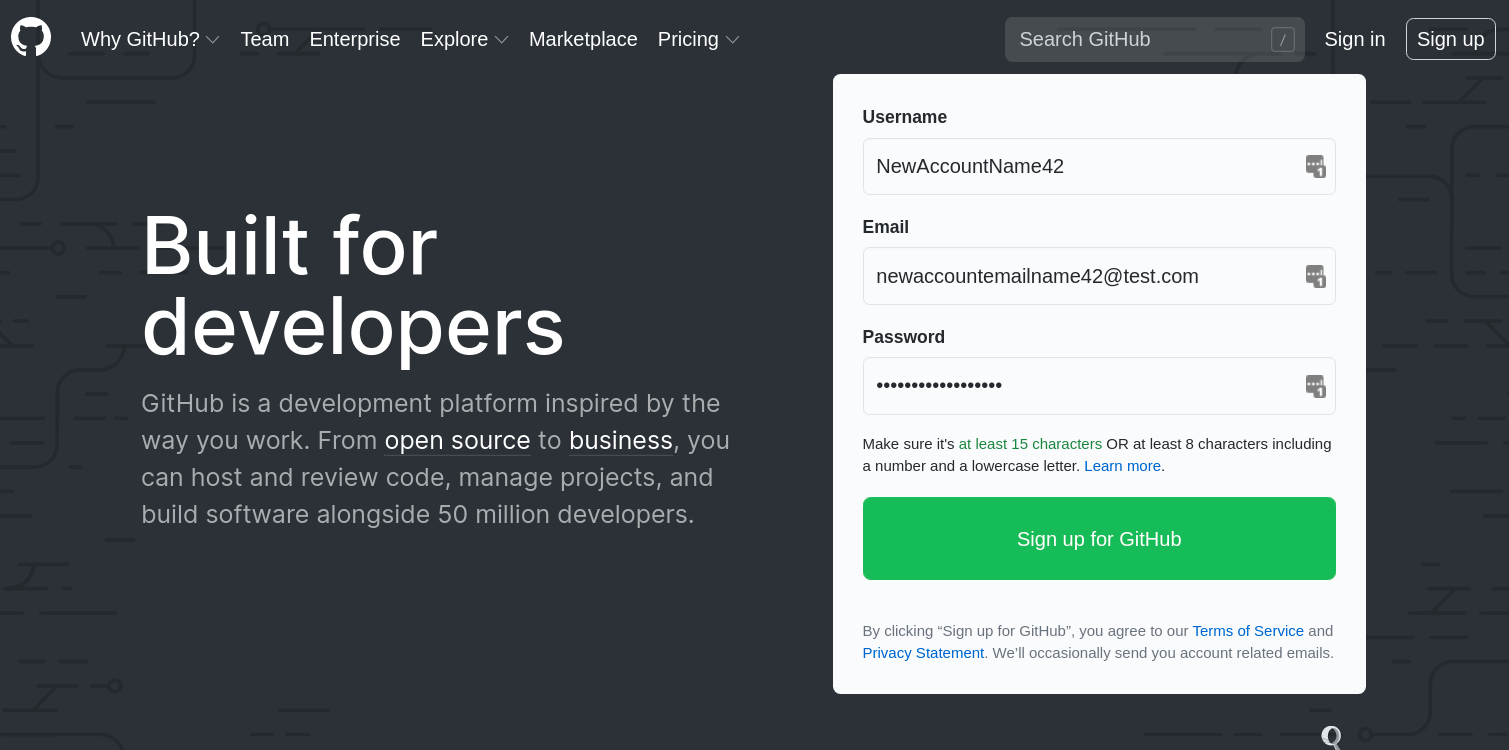
If you have never used GitHub before, start creating a new account (picking your Username, Email and Password).
Creating a new repository
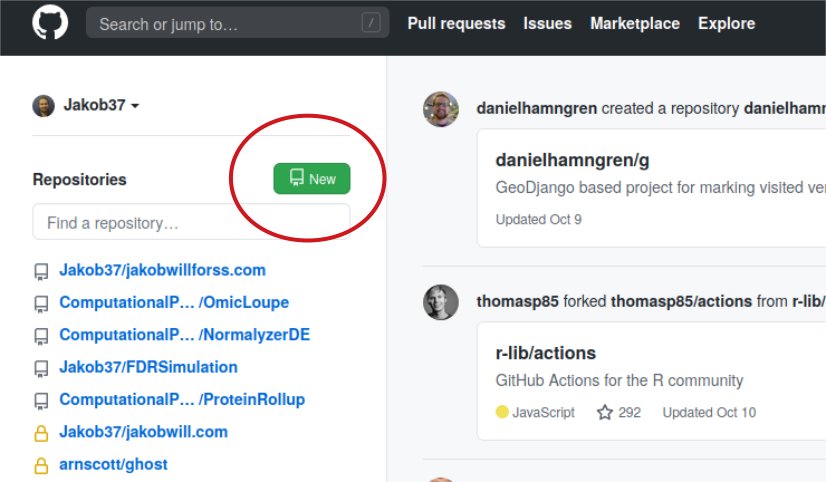
Next, create a new repository. After logging in, you will find a green “New” button to the left. You can get to this page by clicking the logo in the upper left corner.
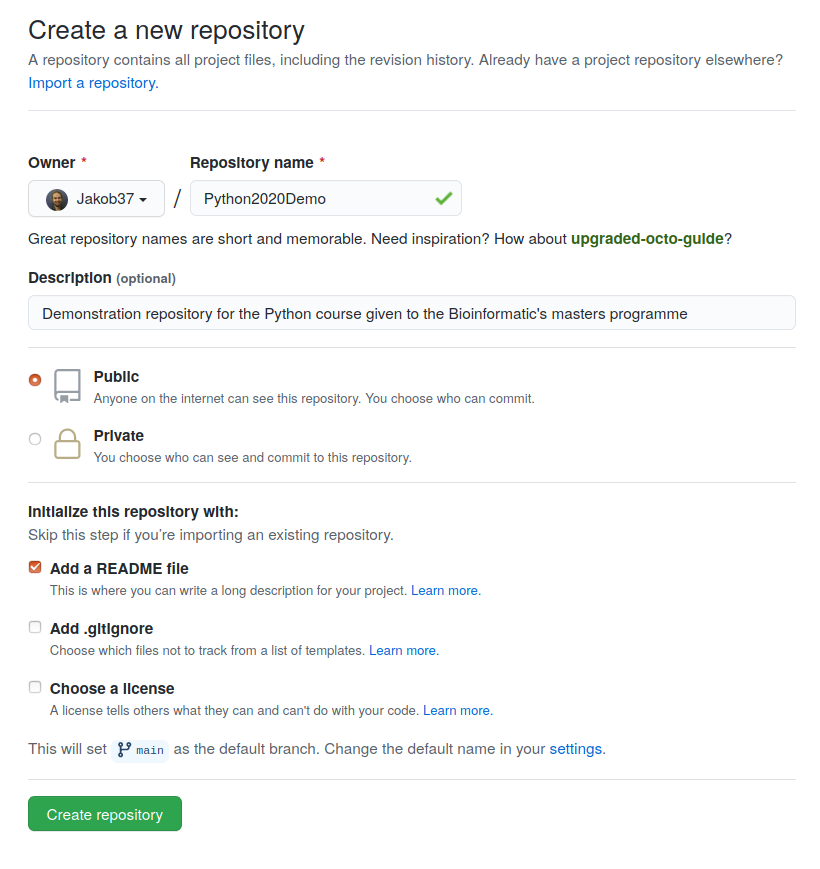
Give the new repository a name (any name that makes sense). You can give it a brief description to make it clearer what the project it will contain is about.
The repository can be either ‘Public’ or ‘Private’. In this case - make it public. Public repositories will be visible to anyone in the world. Private repositories require a GitHub premium account (free for students) and are shown only to those you want to share it with. Overall, try to keep your repositories visible so that others can benefit from them!
Finally, you can optionally include the following files:
- A README - A file giving some description about the projects (for instance, installation instructions, and what problem it solves, in the case of software)
- A .gitignore file - When working with Git on your computer, this tells Git not to keep track of certain files that you don’t want to be shared (for instance, log-files)
- A license - An important file showing other what they can and cannot do with your software
In this case, I chose only to include the README file. Select a name and description which fits your repository.
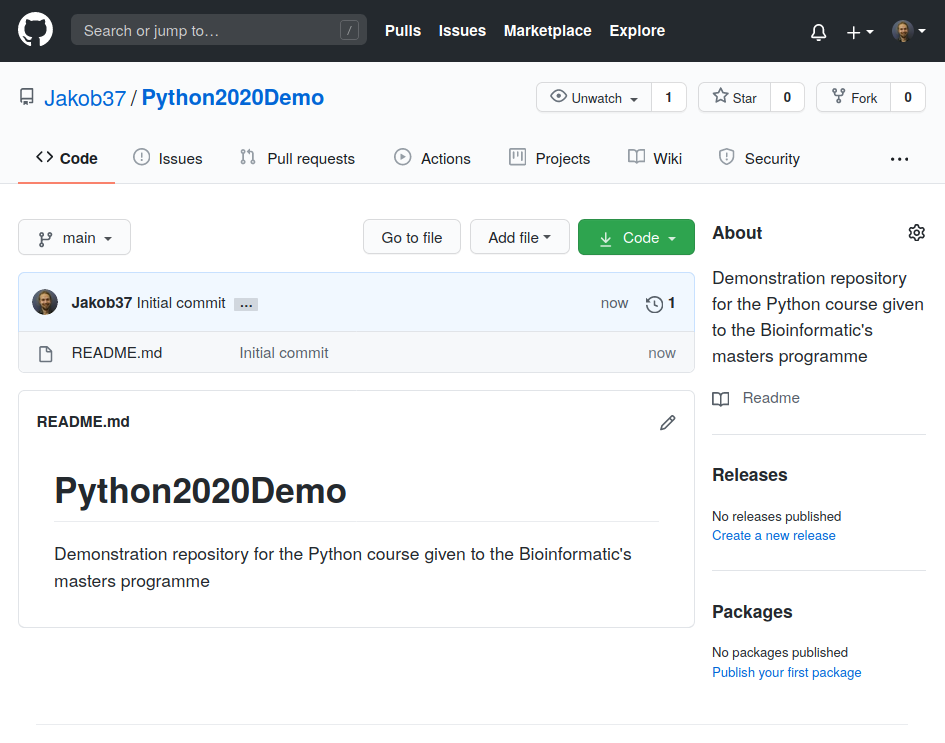
After clicking “Create repository” your first repo is created! For me, I came to a page looking like the screenshot shown below.
Note how the README uses the description I provided to give an overview of the repository’s purpose.
You can view it yourself on GitHub: https://github.com/Jakob37/Python2020Demo
Exercise 1: Create a GitHub account (if you not already have one) and then create a new repository.
Using a repository
You now have a public repository on GitHub where you both can show off your work and access it from anywhere. Further, other people can interact with it, comment about issues and do pull requests (propose changes to it).
Here, we will explore some ways you can use the GitHub interface.
Adding new files
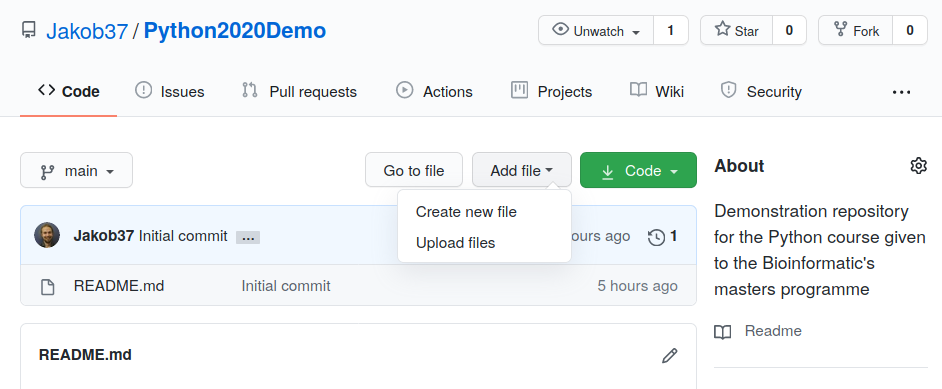
You can upload existing files to the GitHub repository. You do this by clicking “Add file/Upload files”, select the files to upload and write a commit message - a description of the changes you are making. This message will be part of the history you later can look through, so make sure to write something concise but understandable.
Click the “Commit changes” button when done with uploading and writing the commit message.
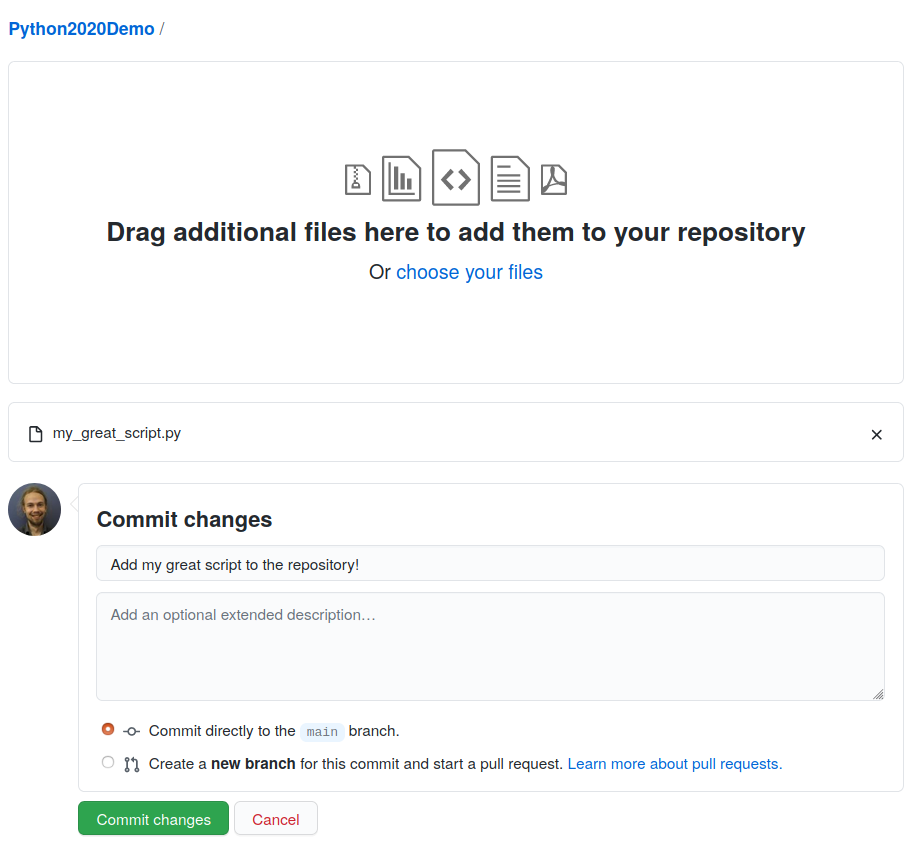
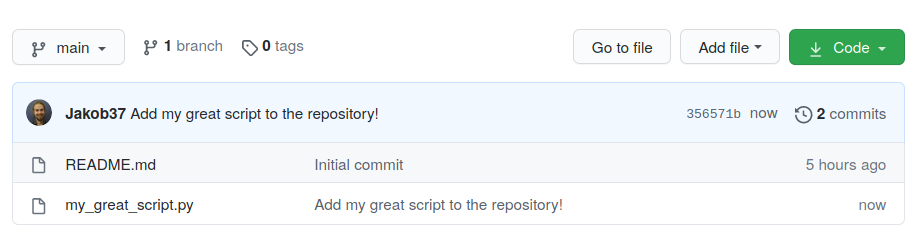
Now you should see an added file (in my case called “my_great_script.py”).
Exercise 2: Try this out for your repository - Upload an existing file from your computer to your repository!
Editing existing files
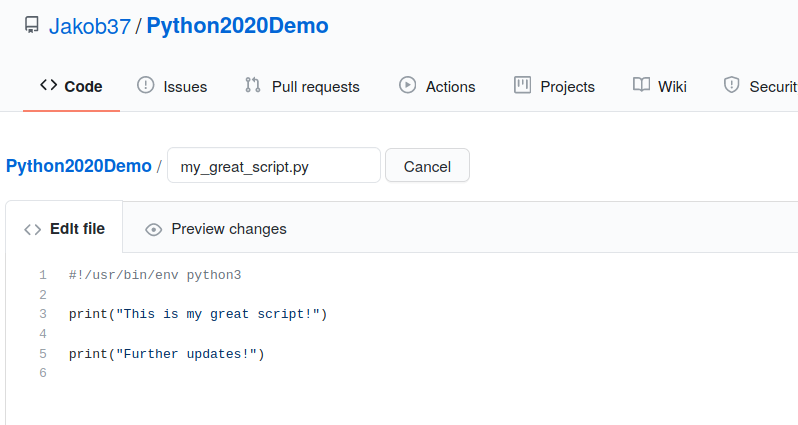
We can also edit existing files through the interface. By clicking the file in the main view, you will open a page for that file. Next, click the pen (on the right edge, next to the trashcan). This opens an in-browser editor. Here, you can make further edits to the file (in this case, I added another print statement).

Commit it similarly to you previously did when adding a new file. Navigate back to the file to make sure it looks OK!
Exercise 3: Make edits to an existing file in your repository (for instance your README). After finishing your edits, verify that the file is changed in your repository.
Investigating the history of a file
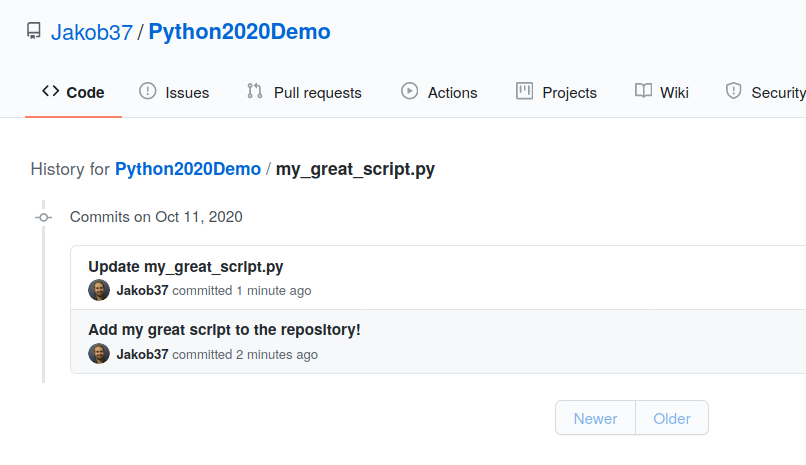
One of the key strengths of using a version control system (such as Git, which is the system powering GitHub) is that you can access the history and see which changes the file has gone through. You can see this by clicking “History” (shown to the right in the file view, check the previous figure “Editing an existing file: Step 1”).
In this case, our history consists of two commits - each representing a change made to the file.
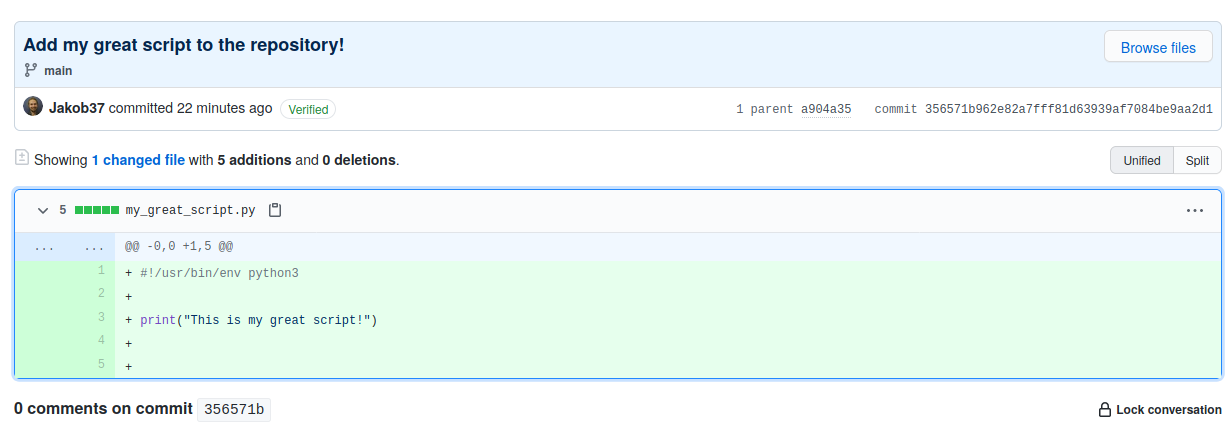
If you click one of the commits, you see the exact changes made to that file in that commit. Very useful when looking for bugs in your code!
Making a pull request to propose changes to a repository
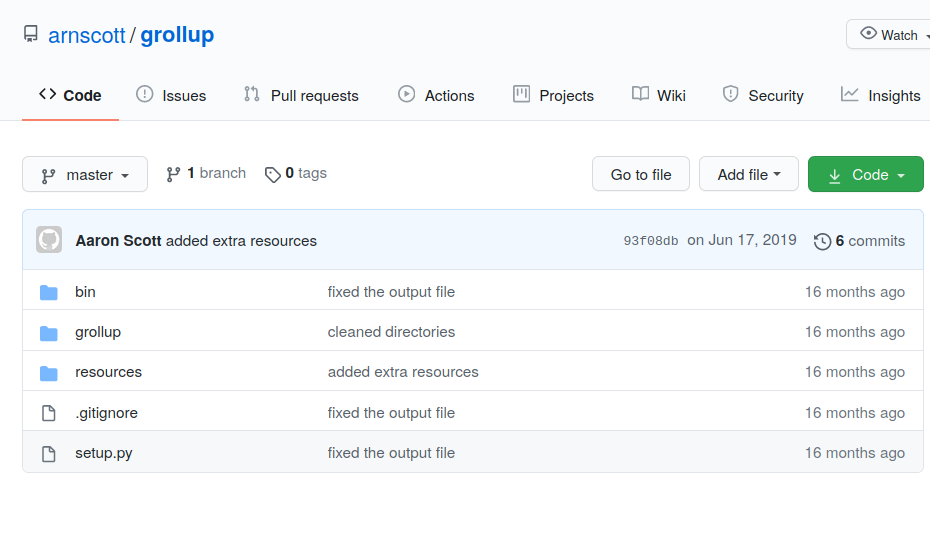
If you want to propose changes to an existing repository, you do a pull request. Here, you can propose the addition of new files, or changes to existing files (or removal of files for that matter).
To do this, first navigate to an existing repository. In the screenshots below, I went to one of Aaron’s repositories “grollup” (to follow along - don’t use Aaron’s, use my course repository https://github.com/Jakob37/Python2020Demo).
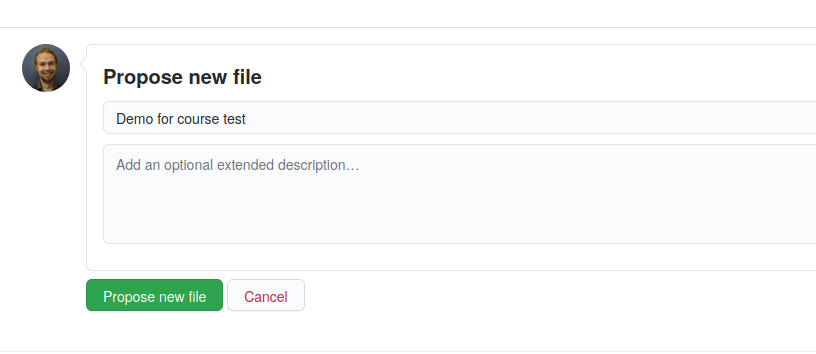
Next, I added a new file (by clicking “Add file / Create new file”). Then I filled in the sentence shown below.
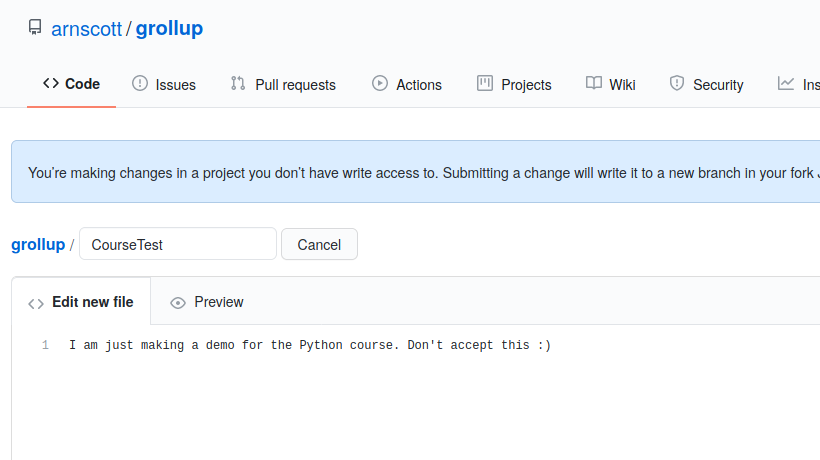
Finally, I wrote a descriptive message similarly to when I did a commit, and clicked “Propose new file”.
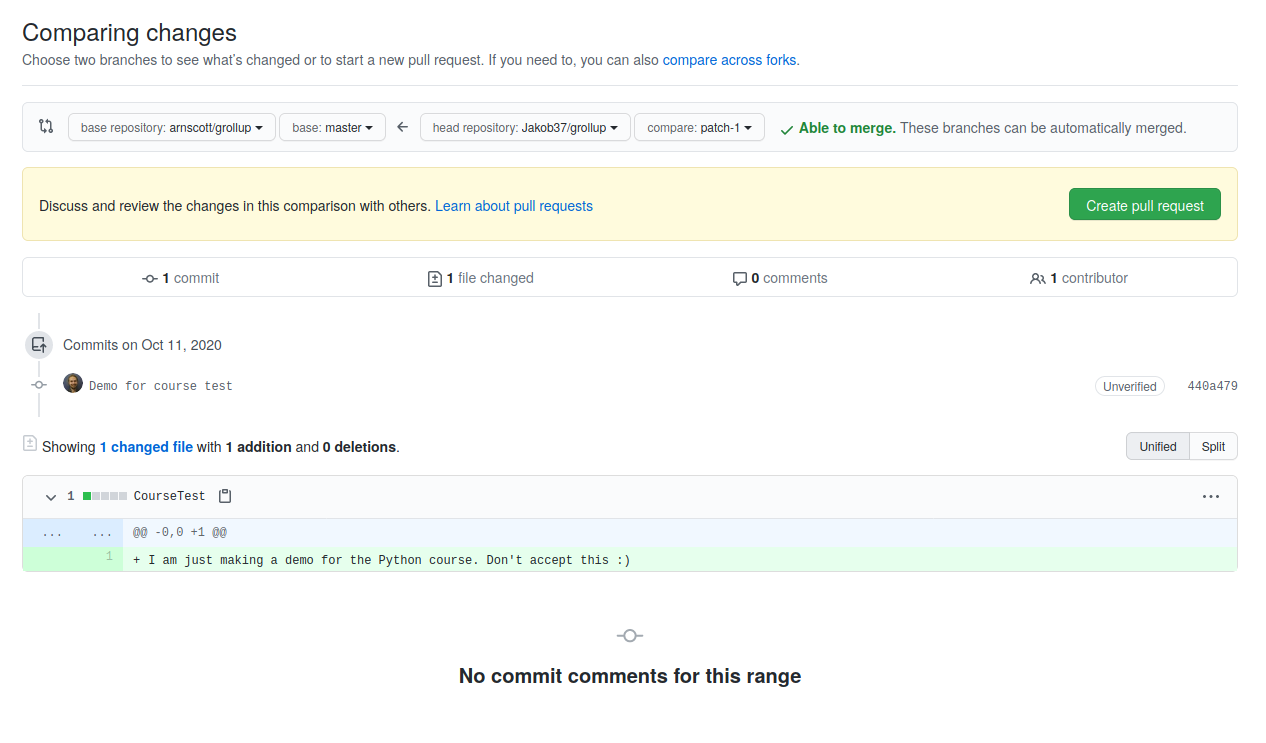
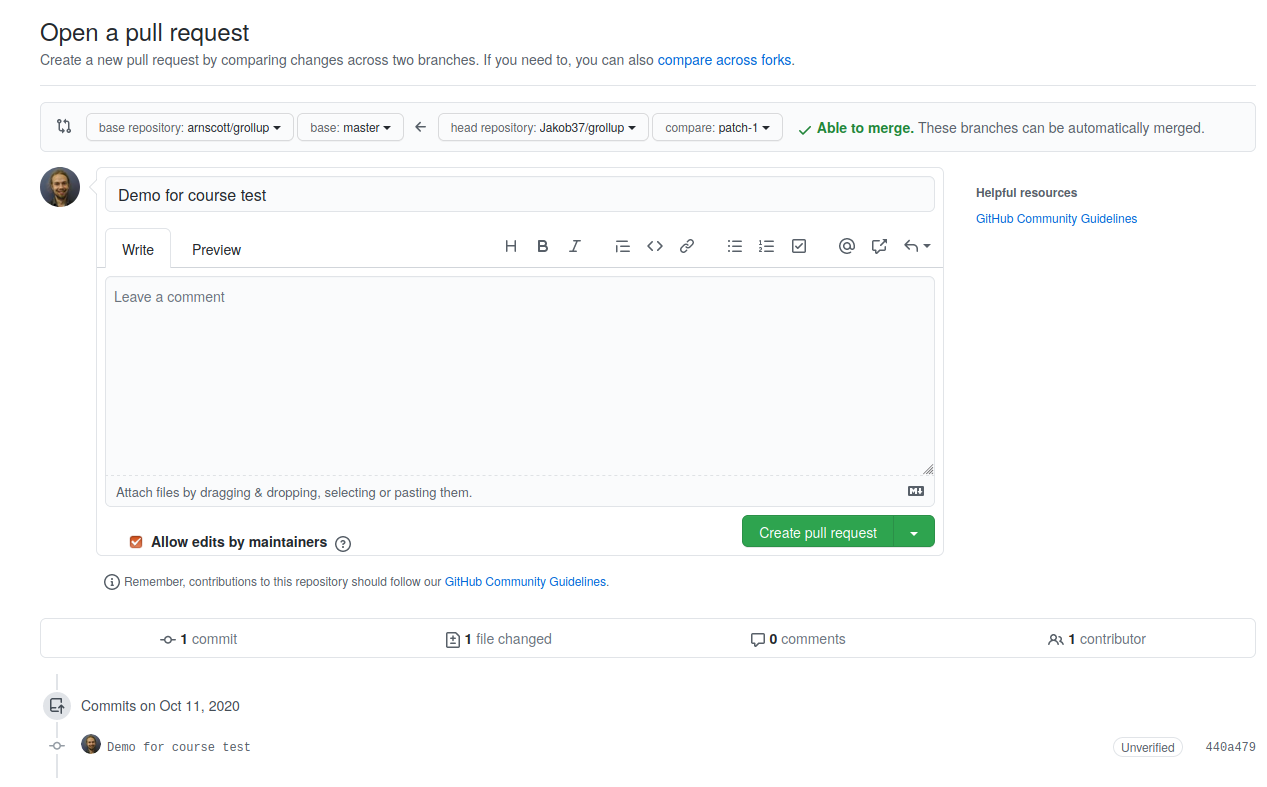
You will come to a page showing exactly the changes made in your proposed pull request. Now is time to review to make sure you haven’t made any mistakes. When satisfied, click “Create pull request”.
After clicking “Create pull request”, you will come to a page where the pull request can be discussed. Often this will end in a back-and-forth with the owner and other people interested in the repository. Further adjustments may be made to the pull request. When you and the owner are satisfied, the pull request is accepted. If not - it may be rejected (which is the likely outcome for the pull request I made to Aaron’s repository!).
Exercise 4: Create a pull request on my repository: https://github.com/Jakob37/Python2020Demo.
Exercise 5: You can also try leaving an issue to the same repository under the menu “Issues”.
Summary
This tutorial was a brief introduction to get going with GitHub. Further reading into Git (the system running beneath GitHub), I recommend you to check out the follow-up tutorial and compendia on the topic: